Adding a free SSL certificate to your website and launching the site
SSL certificate enables website URLs to start with https://. The certificate helps with search engine listing results and it provides an extra layer of security. Free Amazon Cloud Services SSL certificates are available for premium LiquidBlox users.
VIDEO:
Opening the site for public
To get an SSL certificate you need
- A premium LiquidBlox account
- PRO, BUSINESS, e-commerce PRO or e-commerce BUSINESS
- A domain from a domain registrar
- An access to DNS records (or have your service provider set up the DNS records)
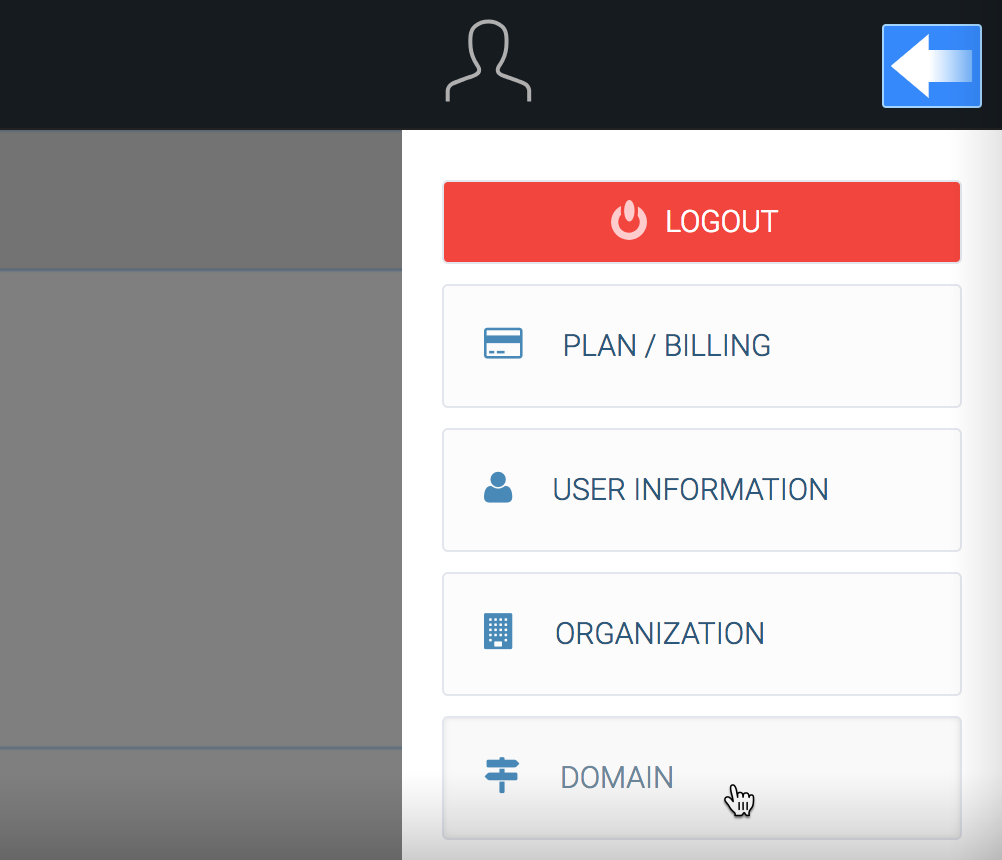
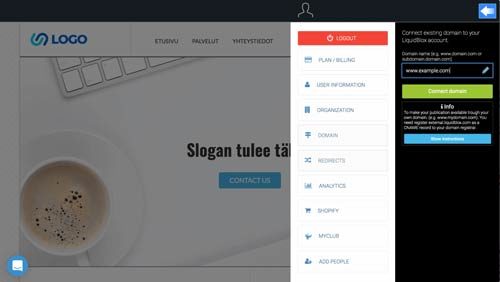
Step 1
- Go to User panel in LiquidBlox editor
- Click Domain button
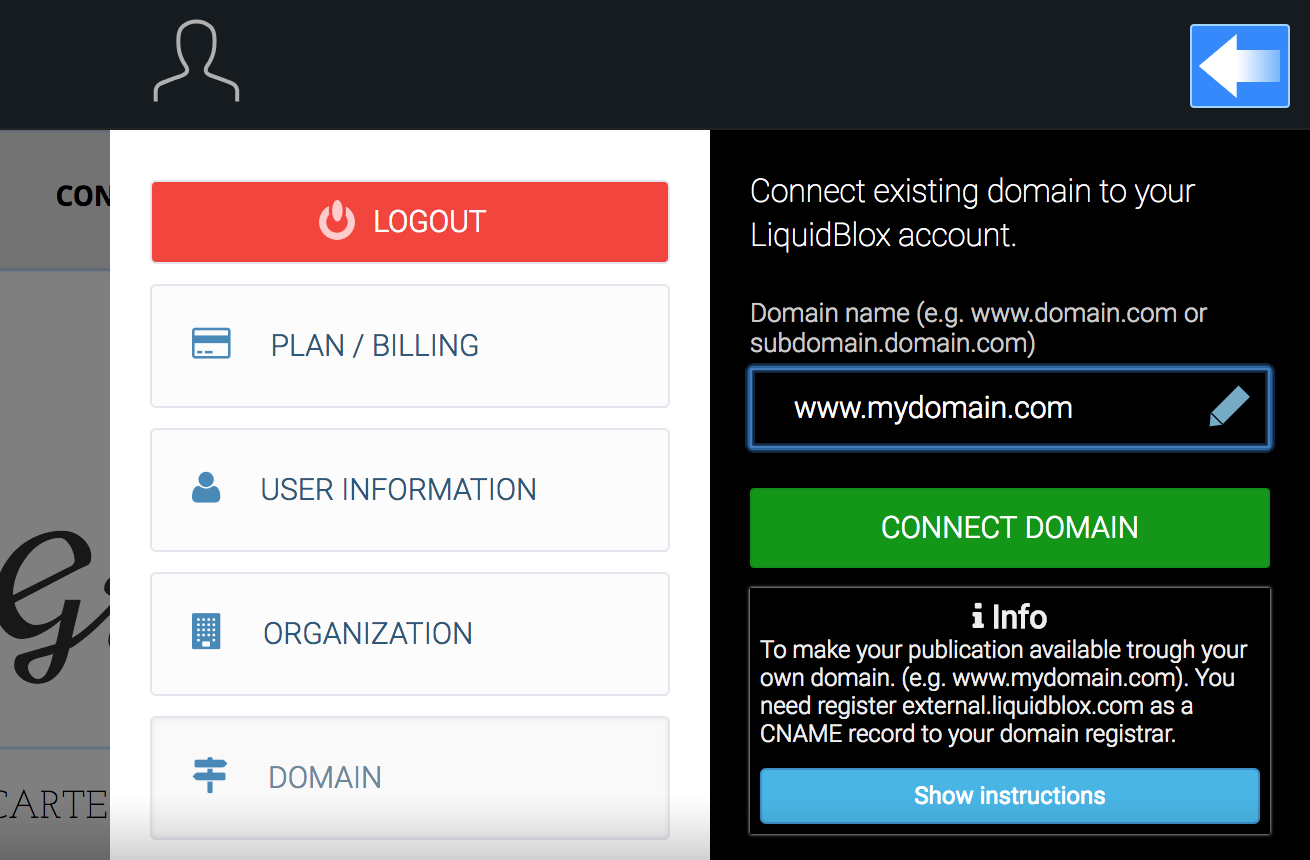
Step 2
- Enter your domain name in the text field
- Click Connect domain

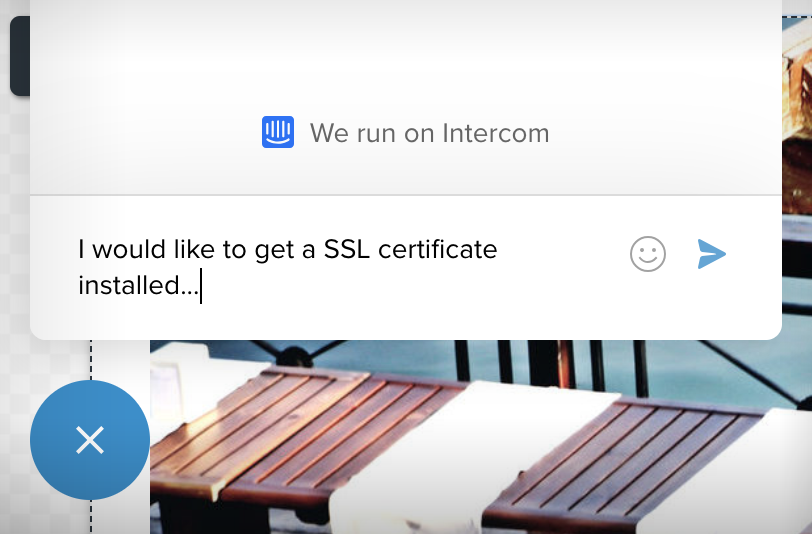
Step 3
- Contact us via chat in LiquidBlox editor
- Tell us that you need an SSL certificate installed
We will make the SSL certificate request for you.
Step 4 - Validating you as the certificate owner
Our support team will provide with you a custom DNS record to set up at your domain's DNS settings. This is done to connect you as the owner of the certificate. This step should be done within 24 hours after receiving the DNS record.
Step 5
Our support team finishes the SSL certificate installation and informs you via chat when you can make the final DNS setup.
Step 6 - Final DNS settings
Our support team will provide you with the final DNS records to set up at your domain's DNS settings to point to the correct website at LiquidBlox.
It might take a few hours for the routing to take effect.