
Installing Google Analytics on a website using Google Tag Manager
In this tutorial you will learn how to use Google Tag Manager to install Google Analytics on a website. Tag manager also enables installing other code snippets like Facebook Pixel without touching the website code.
For this tutorial you need a Googlen Tag Manager account and a website made with LiquidBlox website builder. You will learn how to install Google Analytics with Tag Manager.
Start by creating a new Tag Manager container

Create a new Google Tag Manager account unless you already have one. GTM directs you to create the new container.
- Name the container
- Choose Web
- Save by clicking Create
Install Tag Manager on the website

Copy the upper code from the Tag Manager into the Cookie banner on the website. The code can be in any cookie category.
Read more about enabling the Cookie banner on your website here
Activate GTM intallation by publishing the website

Open publish panel and publish any page to activate Google Tag Manager.
Create a new tag for Google Analytics
1. Go to your Tag Manager account > Tags > New.
2. Enter a name for the tag.
3. Choose tag type: Google Analytics: GA4 Configuration
Notice: You can add other tags for other purposes. We use Google Analytics as an example.


- In the field Measurement ID, enter your "G-" ID from your Google Analytics account
- Save by clicking Savebutton
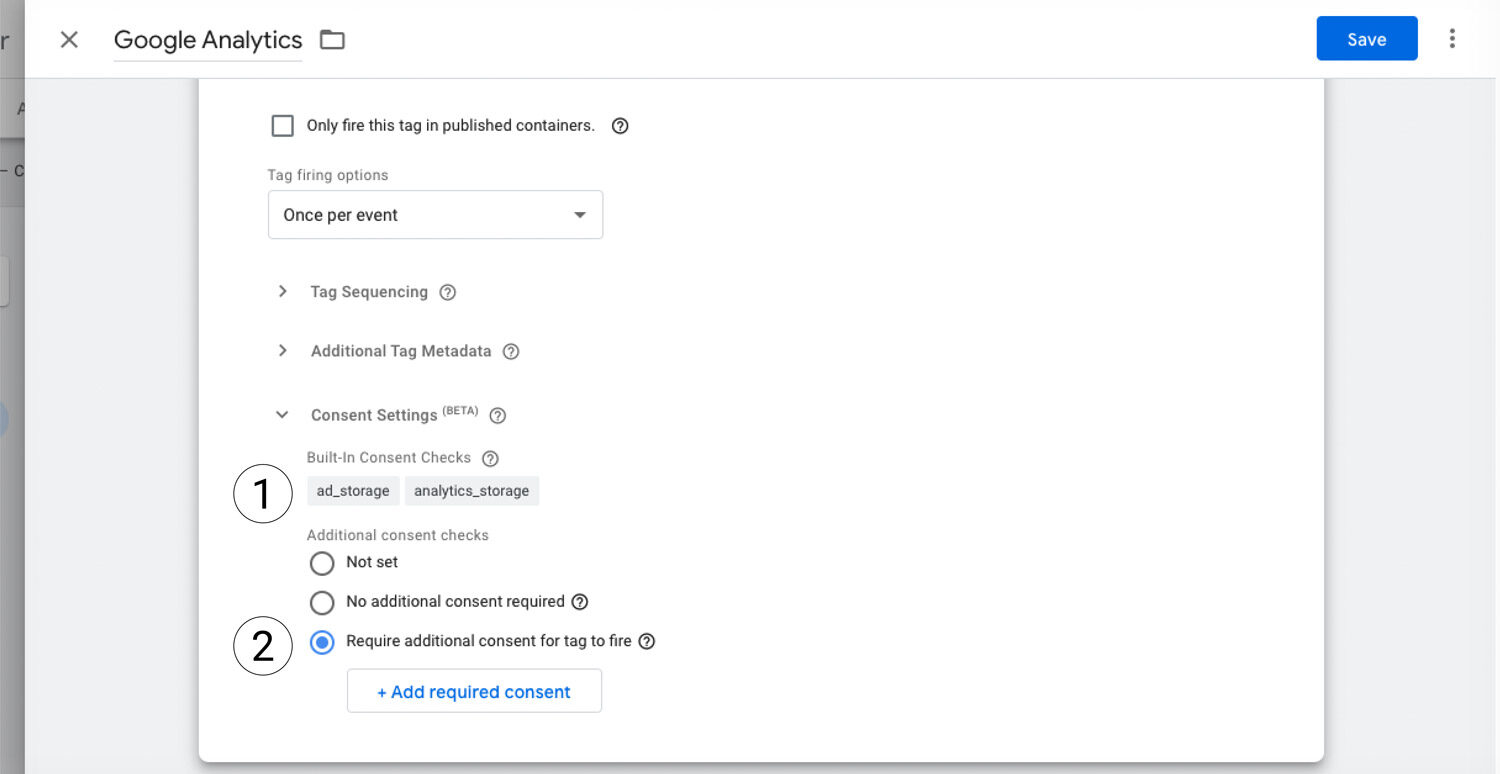
Open Advanced Settings > Consent Settings
- Analytics already has Built-In Consent Checks
- If you are installing a tag that does not have predefined cookie consent settings, select the lowest option and add the desired cookie category
LiquidBlox category corresponds to GTM category
marketing cookies = ad_storage
analytics cookies = analytics_storage
other cookies = personalization_storage
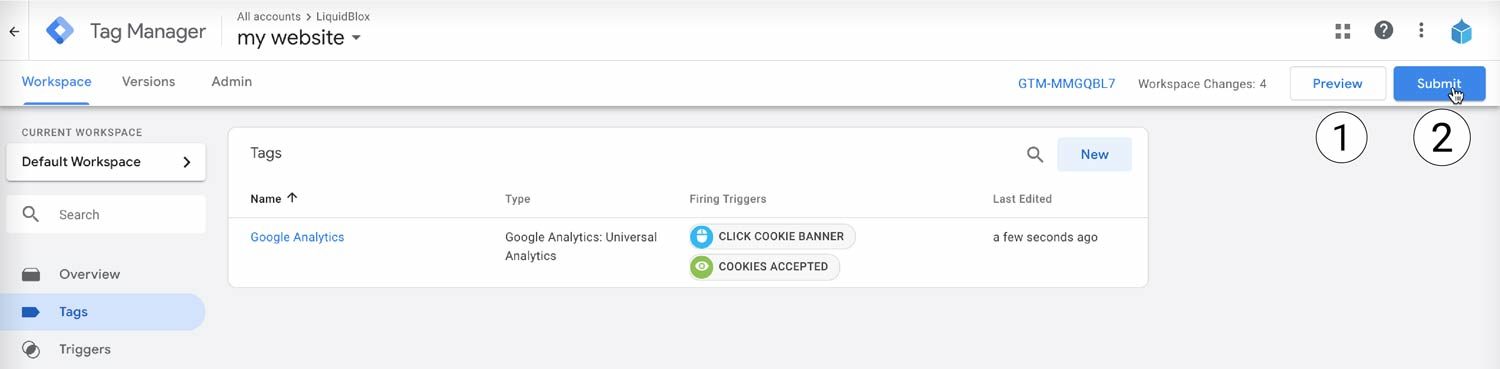
Publish the container
- You can preview how the tags work in preview mode
- Click Submit to publish the contaner with recent changes. After this the tags start working on your website.
- Name the version to be published for you to remember what has been published earlier
- You have also an option to add comments
- Click Publish and the tags start working on the website.


