
Creating custom layouts
LiquidBlox gives anyone the power to be a web designer. Custom layouts are created freely starting with blank blocks, which are easily split into content areas. After that, the content of different content types is added to content areas. Layout structure stays editable even after content is added.

VIDEO:
Designing layouts

Step 1 - Add a new block to the page
Click on the plus icon to add a new block.
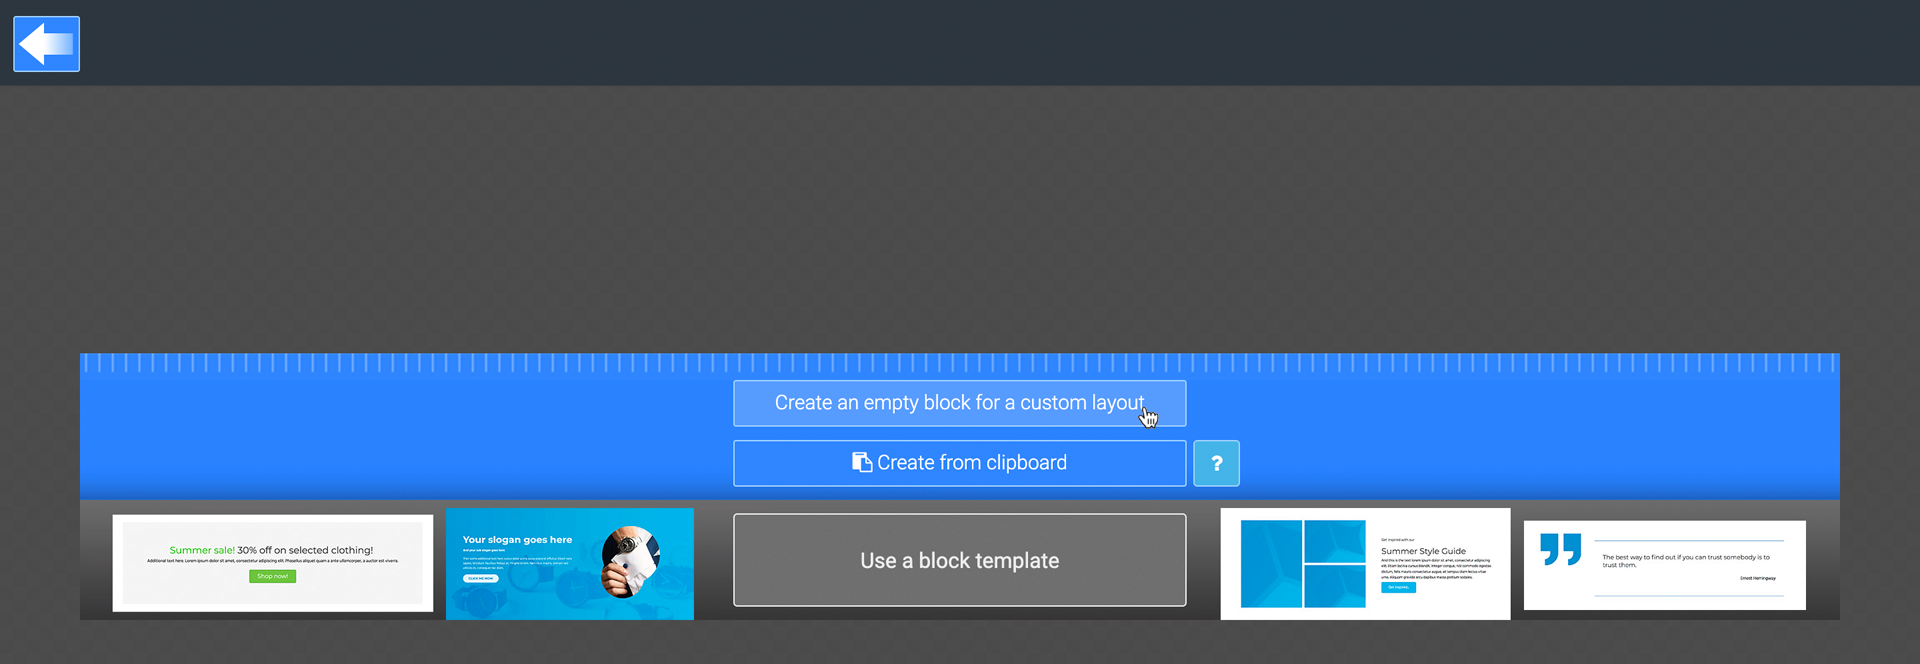
Select create an empty block for a custom layout.
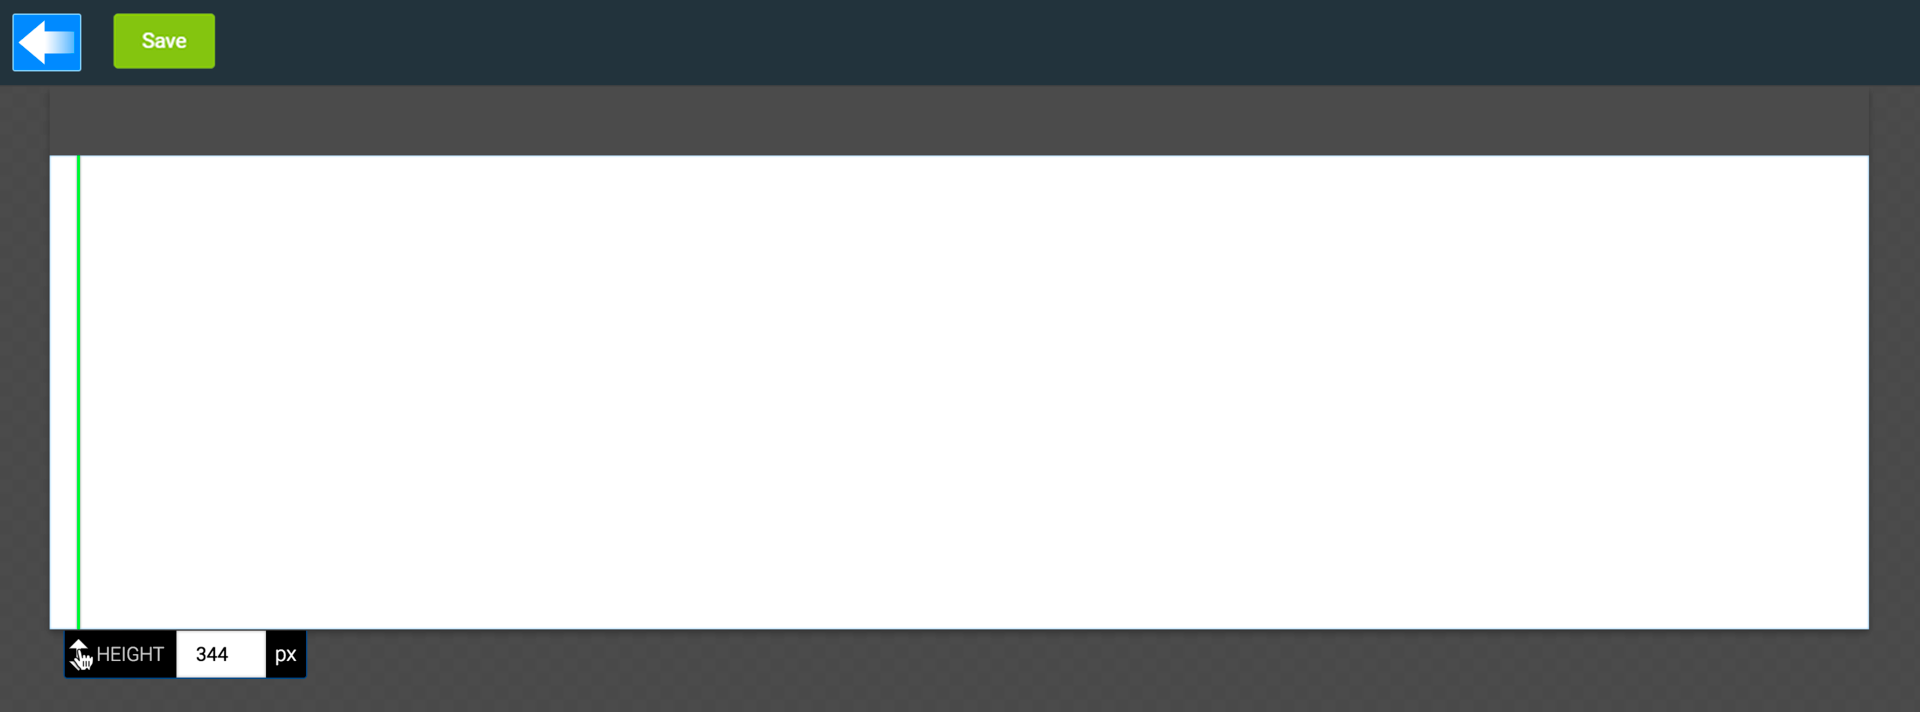
Step 2 - Edit block height
- Click on the new block to activate it
- Adjust the height of the block
- Click Save

Step 3 - Activate the split tool
- Click on the block to activate it
- Select a split tool to create the layout

Step 4 - Splitting the block
- Drag the split line to correct placement
- Click the check mark icon to finish the split
- Make a new split or click Save

Step 5 - Adding content
- Click on the block to activate it
- Click Add content icon

Step 6 - Selecting content type
Select a content type from the top toolbar.

Ready block after adding image and text content to two content areas.

Layout stays editable even after adding content. Click on a split line to edit the layout again.
Notice!
Images may have to be re-cropped after layout changes.


